Let’s be honest — your Android phone has probably seen better days. The screen is smudged, apps take forever to open, storage is almost full, and the battery barely makes it to noon. Sound familiar?
Here’s the good news: you don’t need to buy a new phone. A proper deep clean — both physical and digital — can make even a 3 or 4-year-old Android feel surprisingly fast and fresh again. This guide covers everything, step by step, in plain English. No technical jargon, no complicated tools. Just real, working tips for 2026.
What Does “Deep Cleaning an Android Phone” Actually Mean?
Most people think cleaning a phone just means wiping the screen. But a true deep clean works on two levels:
1. Physical cleaning — removing dirt, bacteria, lint, and grime from the outside of your device.
2. Digital cleaning — clearing junk files, cache, unused apps, background processes, and storage clutter from the inside.
Both matter. A dirty charging port can cause slow charging. A phone stuffed with junk files runs slow — even if the hardware is perfectly fine. Done right, a full deep clean takes about 30 to 60 minutes and can dramatically improve how your phone looks, feels, and performs.
Why Your Android Slows Down Over Time (And It’s Not the Hardware)
Before you start cleaning, it helps to understand why phones slow down. Many people assume it’s because their phone is “getting old” — but that’s rarely the real reason.
Your processor and RAM work exactly the same as the day you bought your phone. What changes is the software environment around them:
- Apps accumulate in the background, silently consuming RAM and CPU
- Cache files build up and sometimes become corrupted, causing app lag
- Internal storage fills up, slowing down file read/write speeds
- System animations add delays that feel sluggish on older hardware
- Battery health degrades, causing Android to quietly throttle CPU speed to avoid unexpected shutdowns
The great news? All of these are reversible. You don’t need a factory reset (though that’s always an option). You just need to clean things up systematically. Let’s do that now.
Part 1: Physical Deep Cleaning — The Outside of Your Phone
Step 1: Gather Your Supplies First
Before you start scrubbing away, gather the right tools. Using the wrong products can permanently damage your phone’s screen coating.
You will need:
- Two soft microfiber cloths (one for cleaning, one for drying)
- 70% isopropyl alcohol wipes (or a small amount of 70% alcohol on a cloth)
- A wooden toothpick (never metal — it can damage ports and conduct electricity)
- A soft, dry brush (a clean makeup brush or paintbrush works perfectly)
- Compressed air can (optional but helpful)
Never use: bleach, vinegar, ammonia-based cleaners, or hand sanitizer. These chemicals strip the oleophobic (fingerprint-resistant) coating off your screen — and once that’s gone, it doesn’t come back.
Step 2: Turn Off Your Phone and Remove the Case
Always power off your phone before cleaning. This protects both you and the device.
Remove the phone case. You’ll be amazed at how much grime collects underneath — we’re talking lint, dead skin, dust, and moisture. Clean the case separately with mild soap and warm water (for silicone or plastic cases) or a dedicated leather cleaner (for leather cases). Let it dry completely before putting it back.
Step 3: Clean the Screen, Back Panel, and Frame
Take your microfiber cloth and gently wipe down the entire surface of the phone — screen, back panel, sides, and buttons. Use light, circular motions. Don’t press too hard.
For stubborn smudges (like sunscreen or makeup), lightly dampen a corner of the cloth with distilled water. If you want to disinfect the back and sides, use a cloth barely dampened with 70% isopropyl alcohol. Apply the solution to the cloth first — never spray directly onto the phone.
Important: Keep the alcohol away from the screen. Research from 2026 confirms that 70% isopropyl alcohol is highly effective at eliminating bacteria from phone surfaces — but it can damage the oleophobic screen coating if used repeatedly on the front glass. Stick to the back and sides for disinfection.
Immediately buff dry with your second clean microfiber cloth. Don’t let moisture sit on the phone.
Step 4: Clean the Charging Port (This One Matters a Lot)
This is the step most people skip — and it’s one of the most important ones.
Over time, lint from your pockets and bags gets compacted inside the charging port. This is why your cable sometimes feels loose or your phone charges slowly. The lint acts as a barrier between the cable pins and the port connectors.
How to clean it safely:
- Shine a flashlight into the port to see what’s in there
- Gently insert a wooden toothpick and scrape along the walls — not the center
- Work slowly and carefully; never poke deep into the port
- Wipe the toothpick on a cloth, repeat until nothing comes out
- Use a soft brush to sweep away any remaining debris
Never use: metal pins, needles, or compressed air blasted directly into the port. Metal can short-circuit internal pins, and strong compressed air can damage tiny microphone components.
Step 5: Clean the Speaker Grills and Camera Lens
Speaker grills collect dust and lint too, which can make your audio sound muffled over time. Use a soft, dry brush to gently sweep across the speaker holes. Short bursts of compressed air held at an angle can also help dislodge stubborn particles.
For the camera lens, use a clean microfiber cloth or a lens wipe. A smudged lens is the number one reason for blurry, hazy photos — and it takes five seconds to fix.
Don’t forget the fingerprint sensor if your phone has one on the back or the side. Oils and grime can make it less accurate.
Part 2: Digital Deep Cleaning — Speed Up Your Android in 2026
Now the inside. This is where the biggest performance improvements happen.
Step 6: Free Up Storage — The #1 Performance Fix
If your storage is more than 75–80% full, your phone will slow down noticeably. Android needs free space to create temporary files, process photos, and run apps smoothly. Think of it like a desk — you can’t work efficiently if every inch is covered in stuff.
Here’s how to clean it up:
Go to Settings → Storage. You’ll see a breakdown of what’s taking up space.
Photos and videos are almost always the biggest culprit. Open Google Photos, tap your profile picture, and select “Free up space.” This removes photos that are already backed up to the cloud from your device’s local storage — you still have them online, but they’re not eating up your phone’s memory.
Apps you haven’t opened in months — sort your apps by “Last used” in Settings → Apps. If you haven’t touched something in six months, uninstall it. Background processes from unused apps are quietly draining your RAM and battery every single day.
Downloads folder — go to Files → Downloads. This folder is a graveyard of old APKs, PDFs, zip files, and random documents. Delete what you don’t need.
WhatsApp and messaging apps — these collect enormous amounts of media. Go to WhatsApp → Settings → Storage and Data → Manage Storage. Sort by “Largest” and delete old videos and files.
Step 7: Clear App Cache (Not App Data — There’s a Difference)
Cache files are temporary data that apps store to load faster. This is a good thing — but over time, cache files pile up, become corrupted, or take up gigabytes of unnecessary space.
Clearing cache: removes temporary files. Your app settings, logins, and personal data stay intact.
Clearing data: wipes everything, including your settings and logins. Only do this if an app is crashing.
How to clear cache:
- Go to Settings → Apps
- Tap on an app → Storage → Clear Cache
- Repeat for your most-used apps (Chrome, YouTube, Instagram, TikTok, etc.)
For a system-wide cache wipe on older Android versions, you could wipe the cache partition via Recovery Mode — but on most modern Android phones (Android 12 and above), this option is no longer available as the system handles it automatically.
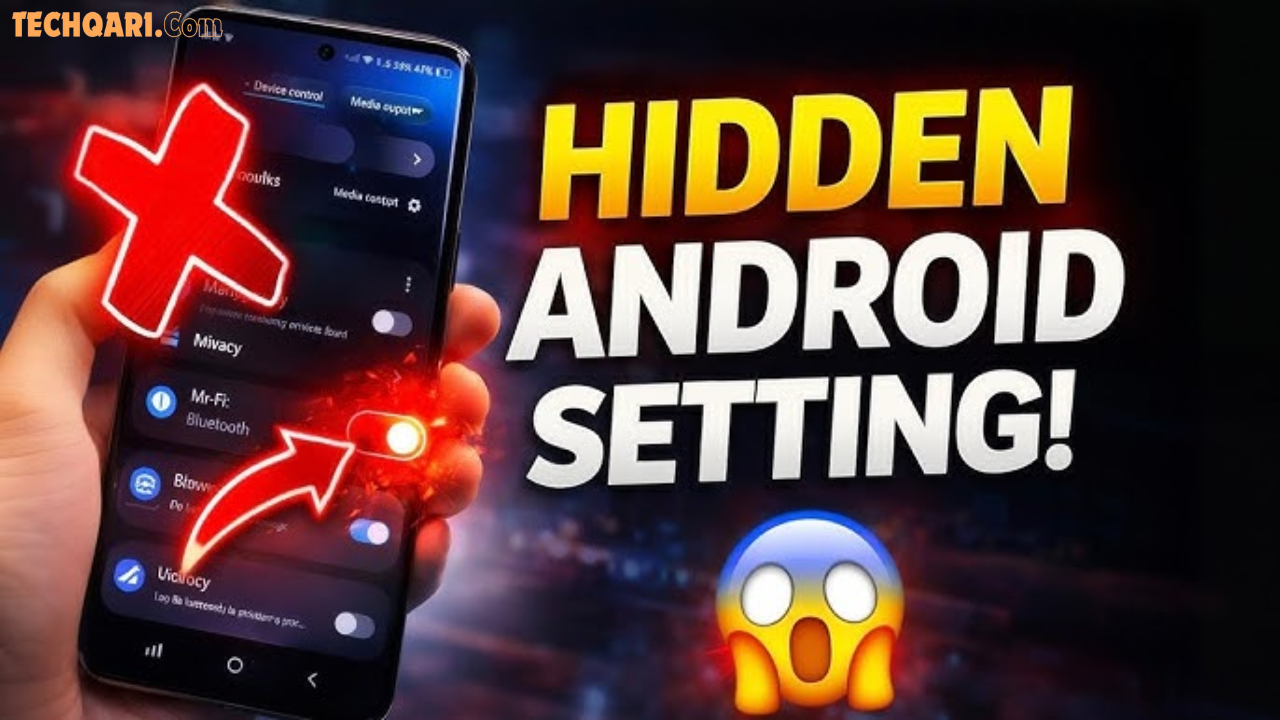
Step 8: Speed Up Animations with Developer Options
This is one of the most underrated Android speed tricks. The animations you see when opening apps, switching screens, or going back — they all take time. On an older phone, they make the device feel sluggish. You can reduce or eliminate them.
How to unlock Developer Options:
- Go to Settings → About Phone
- Tap Build Number seven times in a row
- You’ll see a message: “You are now a developer!”
- Go back to Settings → Developer Options
Inside Developer Options, find:
- Window animation scale → Set to 0.5x (or Off)
- Transition animation scale → Set to 0.5x (or Off)
- Animator duration scale → Set to 0.5x (or Off)
The difference is immediate. Your phone will feel noticeably snappier — apps open faster, switching is smoother. This trick works on Samsung, Xiaomi, OnePlus, Realme, and virtually all Android brands.
While you’re in Developer Options, also set Background process limit to 3 or 4 processes. This frees up RAM by stopping Android from keeping too many apps loaded simultaneously.
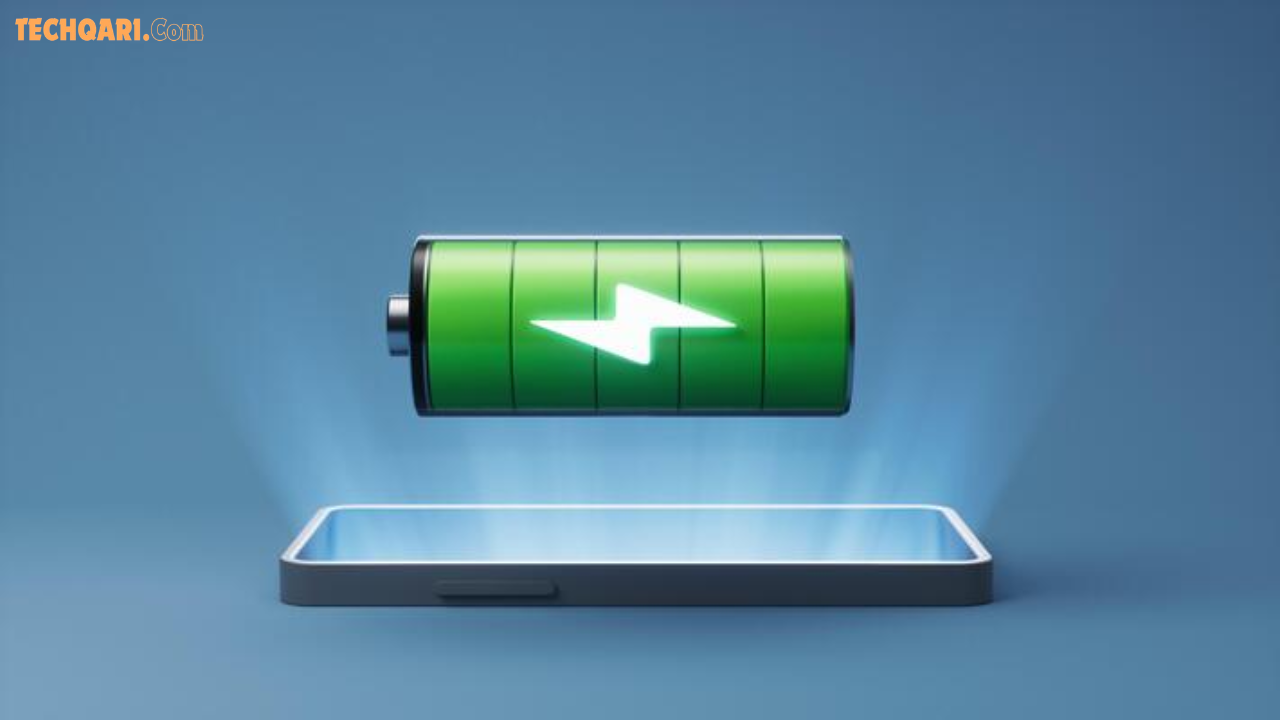
Step 9: Manage Background Apps and Battery Hogs
Go to Settings → Battery → Battery Usage. The apps at the top of this list are consuming the most power — even when you’re not using them.
For apps using excessive battery:
- Tap the app → Select “Restrict background activity”
- Or turn on Adaptive Battery (Settings → Battery → Adaptive Battery) — this uses AI to learn which apps you use most and limits power for the ones you rarely open
Also check Settings → Apps → Special App Access → Battery Optimization. Make sure non-essential apps are not excluded from optimization.
Disabling live wallpapers and heavy widgets also helps significantly. A live wallpaper runs continuously in the background, consuming CPU and GPU resources. Switch to a static wallpaper and keep only the widgets you actually use.
Step 10: Review App Permissions and Privacy Settings
This step is often overlooked but extremely important — both for performance and privacy.
Many apps request permissions they don’t actually need. A flashlight app that wants access to your location. A calculator that wants your contacts. Each permission you grant potentially allows the app to run background processes, access hardware, and drain resources.
Go to Settings → Privacy → Permission Manager. Review which apps have access to:
- Location (set to “Only while using” — never “Always”)
- Microphone
- Camera
- Contacts
- Storage
Revoke any permissions that seem unnecessary. This reduces background activity and also protects your personal data.
Step 11: Update Everything — Android, Apps, and Security Patches
Outdated software is one of the sneakiest performance killers. Android updates frequently include bug fixes, performance improvements, and security patches that directly affect how fast and smooth your phone runs.
In 2026, Google’s latest Android kernel updates include something called AutoFDO (Automatic Feedback-Directed Optimization) — a technology that makes the operating system learn real-world usage patterns and optimize itself accordingly. Early results show up to 4.3% faster app launch times. Keeping your phone updated means you automatically get these improvements.
Update checklist:
- Go to Settings → System → System Update — install any pending updates
- Open Google Play Store → Profile → Manage Apps & Device → Update All
- Check for security patch updates separately in Settings → About Phone
Step 12: Restart Your Phone Regularly
This sounds almost too simple — but restarting your phone once a week makes a real difference.
A restart clears RAM, closes stuck background processes, refreshes network connections, and allows pending system updates to apply fully. Many people go weeks or even months without restarting their phones, then wonder why everything feels slow.
Set a reminder: every Sunday night, restart your phone. It takes 60 seconds and keeps things running smoothly.
Part 3: Advanced Tips (For That Extra Boost)
Use Lite App Versions When Possible
Facebook, Instagram, Spotify, and many other major apps have “Lite” versions specifically designed for phones with limited RAM and storage. These apps use significantly less memory, battery, and data while still providing the core features you need.
If your phone has 3–4 GB of RAM, switching to lite versions of heavy apps can feel like a hardware upgrade.
Consider a Factory Reset as a Last Resort
If you’ve done everything above and your phone still feels slow, a factory reset is the nuclear option — but it genuinely works.
A factory reset wipes all accumulated software clutter and returns your phone to its original speed. Thanks to cloud backups (Google Photos, Google Drive, WhatsApp backup), you can restore your data fairly quickly afterward.
Before resetting:
- Back up everything to Google Drive and Google Photos
- Note your Wi-Fi passwords and important logins
- Go to Settings → System → Reset Options → Erase All Data
After a reset, be selective about which apps you reinstall. Many people end up reinstalling the same bloat they just removed — defeating the entire purpose.
Comparison: Deep Clean vs. Factory Reset vs. Buying a New Phone
| Method | Time Required | Cost | Effectiveness | Data Loss Risk |
|---|---|---|---|---|
| Deep Clean (This Guide) | 30–60 minutes | Free | High | None |
| Factory Reset | 2–3 hours | Free | Very High | Medium (with backup) |
| New Phone | Days of setup | High ($200–$1,000+) | Maximum | Low (with backup) |
| Third-party Cleaner Apps | 5 minutes | Free/Paid | Low–Medium | Low |
Verdict: A proper deep clean is almost always the best first step. It costs nothing, takes less than an hour, and often delivers 80–90% of the performance improvement you’d get from a full factory reset — without the hassle of setting everything up again.
Pros and Cons of Deep Cleaning Your Android
Pros:
- Completely free — no apps or tools required
- Immediate, noticeable improvement in speed and storage
- Extends the lifespan of your device
- Reduces battery drain
- Improves hygiene (phones carry bacteria)
- No data loss
Cons:
- Takes time to do thoroughly (30–60 minutes)
- Results vary depending on how old or damaged the phone is
- Physical cleaning requires some care to avoid damaging the device
- Not a permanent fix — needs to be repeated every few months
How Often Should You Deep Clean Your Android?
| Cleaning Type | Frequency |
|---|---|
| Screen wipe (microfiber cloth) | Daily |
| Case removal and cleaning | Weekly |
| Cache clearing | Monthly |
| Full digital deep clean | Every 3 months |
| Physical port cleaning | Every 3–6 months |
| Full factory reset (if needed) | Once every 1–2 years |
FAQs — People Also Ask
Q1: Will clearing cache delete my photos or app data?
No. Clearing cache only removes temporary files that apps use to load faster. Your photos, messages, logins, and app settings remain completely untouched. It’s one of the safest things you can do to improve performance.
Q2: Is it safe to use 70% isopropyl alcohol on my Android phone?
Yes — but with care. Use it on the back panel and sides only. Avoid the screen, as repeated alcohol use can degrade the oleophobic coating on the display. Always apply it to a cloth first, never spray it directly onto the phone.
Q3: Why is my Android phone slow even after clearing cache?
Several things can cause persistent slowness: a nearly full storage (keep at least 20–25% free), degraded battery health throttling the CPU, too many background apps, or outdated software. Work through the full guide above — especially the Developer Options animation tweaks and background process limits.
Q4: Do I need a third-party cleaner app to deep clean my Android?
No. In fact, most third-party “booster” and “cleaner” apps do more harm than good. They often restart the apps they close, creating more background activity — not less. Built-in Android tools (Settings → Storage, Battery, and Apps) are more effective and completely safe.
Q5: How do I know if my charging port needs cleaning?
Signs include: your charging cable feels loose or wiggly, your phone charges slowly or intermittently, or your phone doesn’t charge at all even with a working cable and charger. Lint compaction is the most common cause — and it’s an easy fix with a wooden toothpick.
Conclusion
Your Android phone doesn’t need to feel old and slow. With a proper deep clean — both physical and digital — you can restore a significant chunk of the speed, storage, and smoothness you had on day one.
The key takeaways from this guide:
- Physical cleaning protects your hardware and hygiene
- Cache clearing and storage management are your biggest wins for performance
- Developer Options animation tweaks make an immediate, dramatic difference
- Regular maintenance (monthly cache clears, weekly restarts) keeps problems from building up again
The whole process takes about an hour, costs nothing, and can add years to your phone’s useful life. Start with the storage cleanup and animation tweaks today — you’ll notice the difference immediately.
Found this guide helpful? Bookmark it for later and share it with someone whose phone has been running slow. And if you have a tip that worked for you, drop it in the comments below!